
I apologise in advance: as I didn’t intend to make this as a tutorial, so there may be some pictures missing. I’ll try to give you the instructions as best I can tho so that you can make your own.
HOW TO MAKE
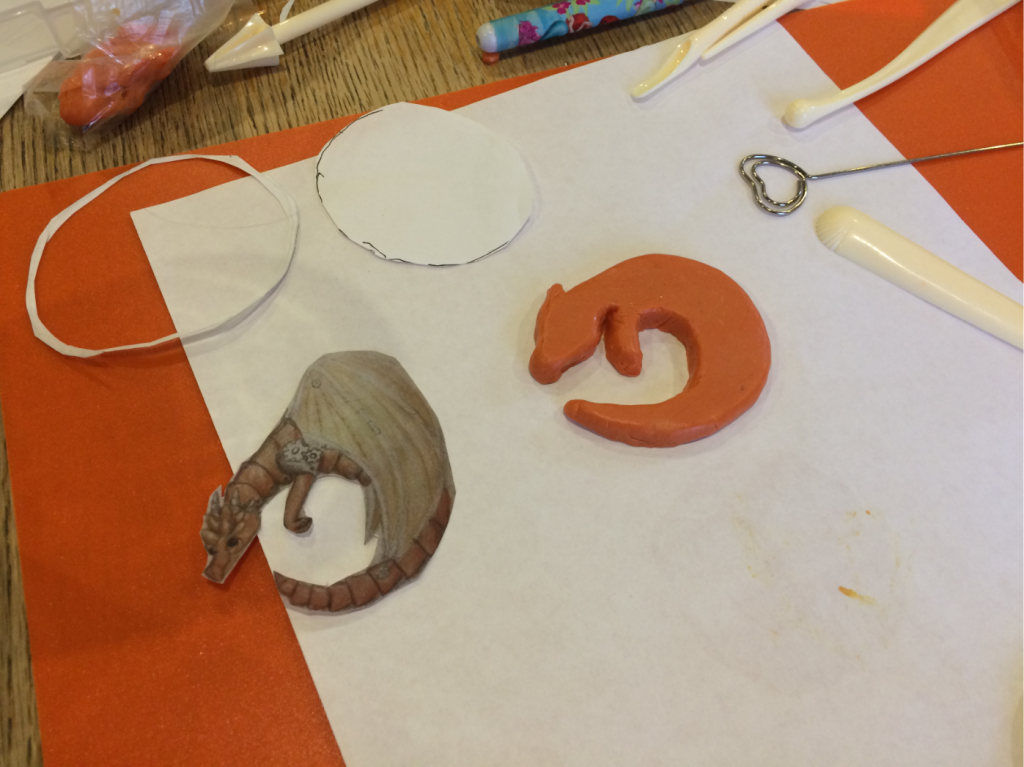
Roll your clay into a flat disc about 1/2″ thick and 6cm in diameter.
Carefully, draw out the shape of your pendant – to scale – on a spare piece of paper. And cut out around the edges.
Place the paper on top of your circle of clay. Gently using a plastic scalpel etch in the shape of your dragon around the edge of your template. Gently into clay below.
Before cutting out your design with a rounded scalpel. Using your fingers to smooth the edge of the clay.
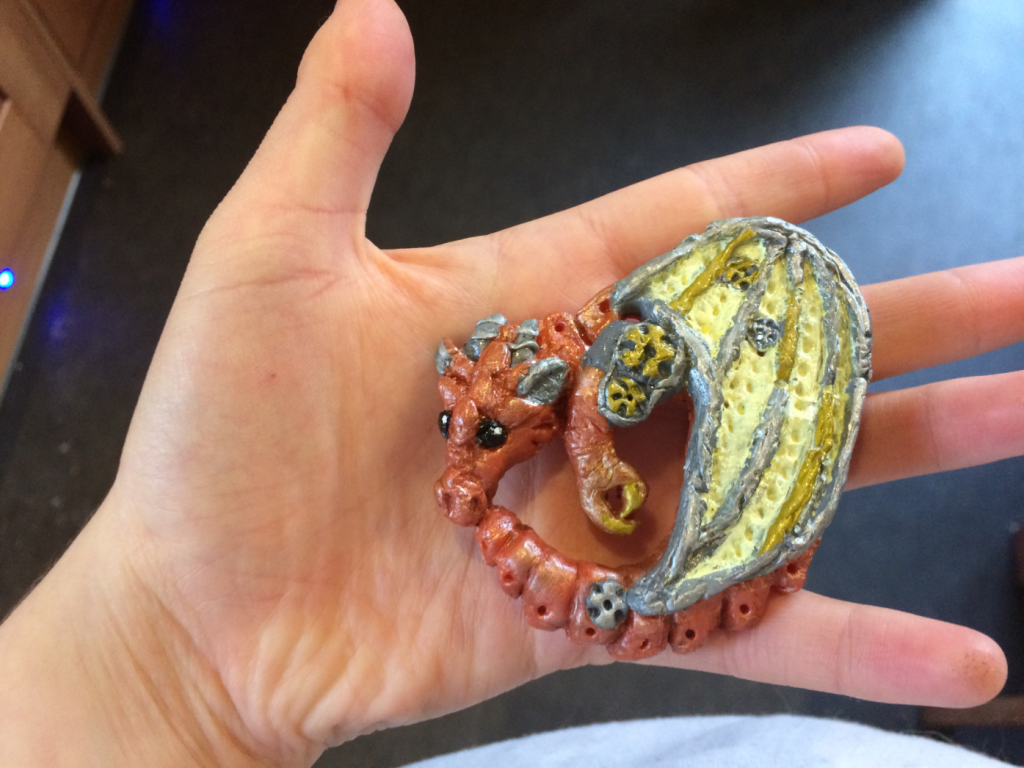
Repeat for the wing using a lighter colour of clay before attaching the wing shape on top of the body, by laying it on flat and filling in the gap behind the wing with more clay.
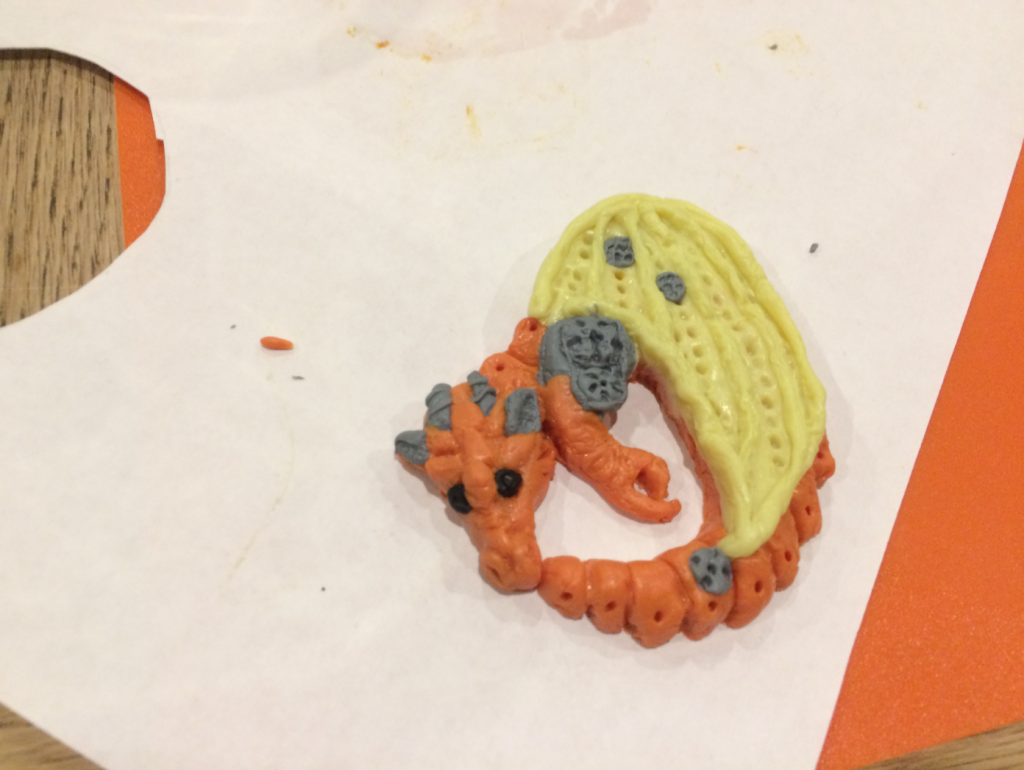
Using spare pieces of clay, roll little strings for the fingers – of the wing; in terms of a bat. And gently lay them around the edge of the wing and as curved lines vertically down the wing.
Take some tiny balls of grey clay and push them into your wing, to make tiny cogs. Creating indents with a pencil or metal rod.
Layer up the clay on your dragons body by pushing gently around the edges to give a 3d structure adding more clay in higher areas such as the leg and the head. And using tools to create etchings and layering between scales on the tail.
Use small pieces of clay to add details to your dragons body, such as the eyes, horns and scales.
Cook in the oven as directed on the clay packet. As an indication, it took about 30 mins at 130 for my pendant.
Then leave to cool for a few hours. Before painting.
TO PAINT
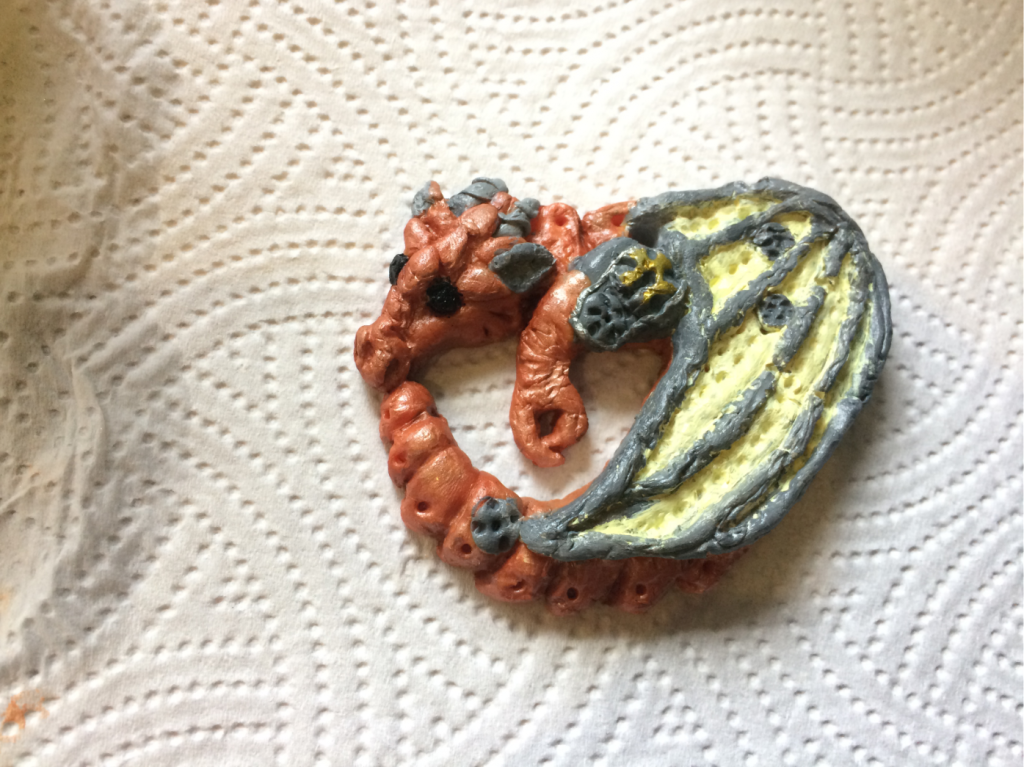
Using gloss acrylic paints paint the body of your dragon copper and the grey clay of the legs a lighter grey. As well as the inside of the dragons ears and horns.
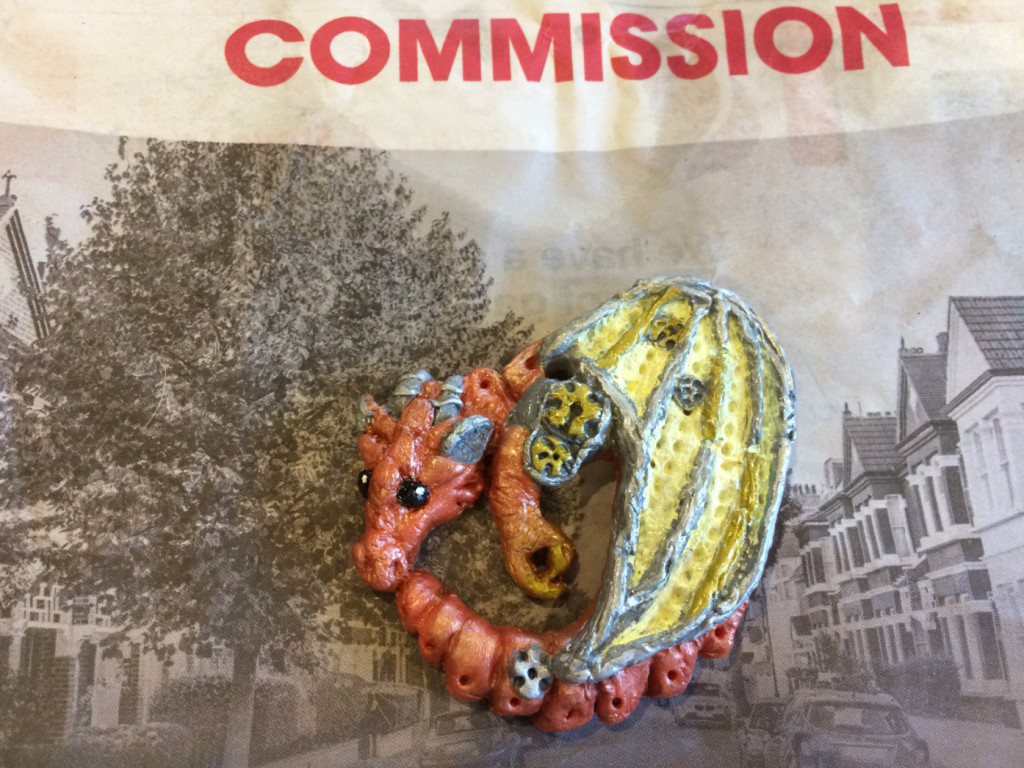
Taking a gold metallic pen colour in the cogs and claws on your dragon. Using a silver metallic marker colour in the details on the dragons ears, horns and wings.
Leave to dry overnight before spraying with a colourless waterproof sealant.
Your pendant is now ready to be strung up or worn on a chain around your neck.
Handmade With Love: Catsith Crafts xx
A little help: I still can’t decide if jewellery making is art or crafts.
I’d highly appreciate it if you give me your suggestions in the comments down below.
It’s crafts