This is
I love making notebooks and paper stationery supplies in my free time. I tend to find it more aesthetically pleasing creating a relationship journal for physics than using a plain old jotter that I won’t particularly remember from. These journals and notebooks often come in handy when it comes to revising and taking important notes for tests.
really enjoy making fabric and plain old notebooks. However, I run out of the right colour of card for this and since its part of a friend’s birthday present inevitably ended using layered coloured paper on the white card. Which doesn’t quite look as nice and I certainly wouldn’t do if being sold.
It’s not her main present so isn’t quite so bad but after I cut and shaped the whole book, it seemed a waste of trees not to use, it just because it wasn’t quite the quite materials.
MATERIALS
Coloured card preferably pink
25 sheets plain paper
white thread
Glue stick
Metallic markers
TOOLS REQUIRED
Paper knife
Ruler
Pencil
Rubber
Fine art black tip pen
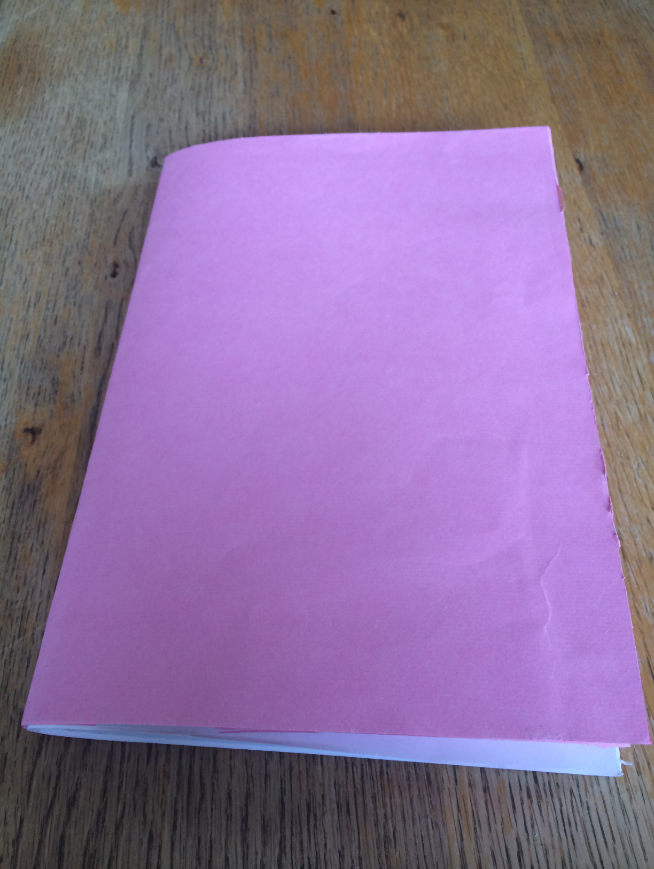
TO MAKE A NOTEBOOK
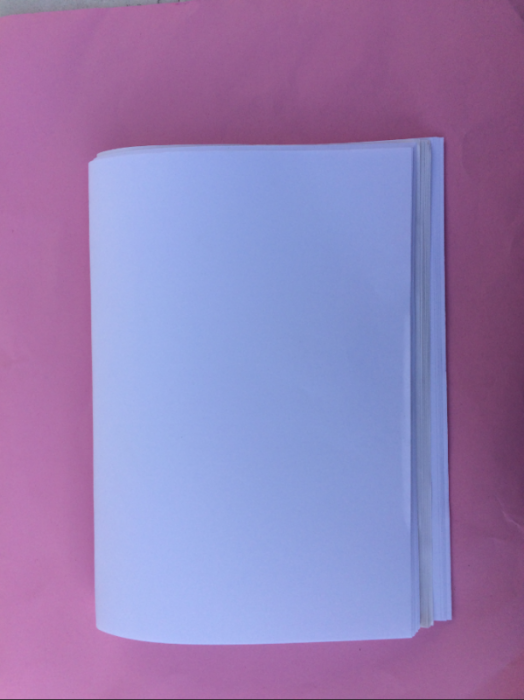
Bundle all 25 sheets of plain paper together with a piece of pink card on top. Fold in half.
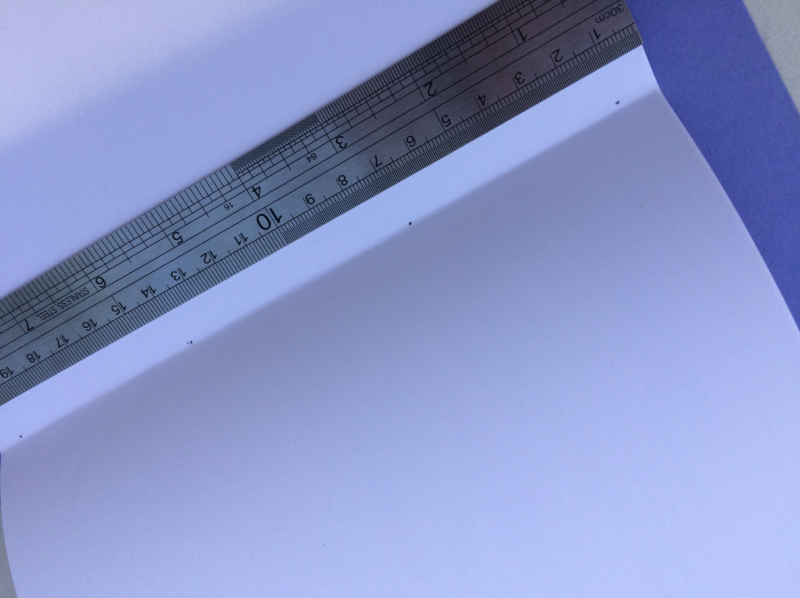
Take a ruler and mark out 4 dots equally spaced along the fold line – these will be our pin holes.
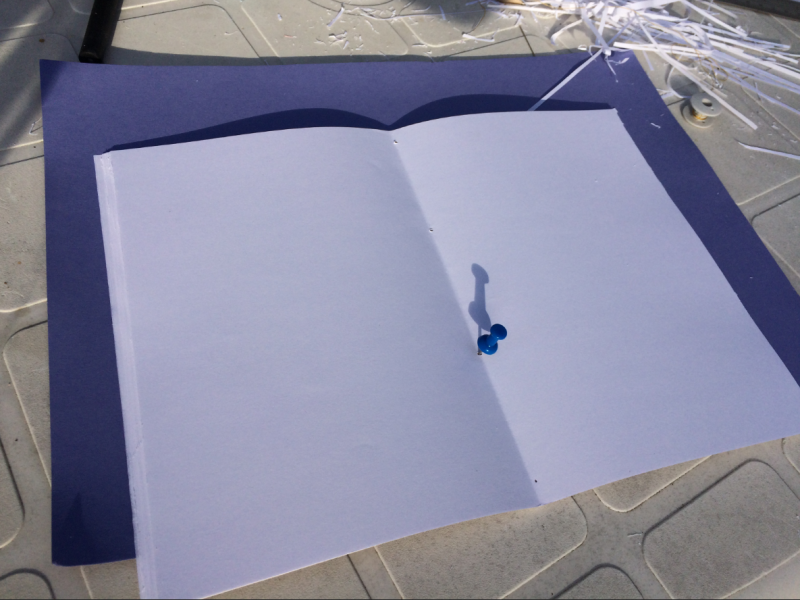
Take a pin, on a cutting mat poke the pin throw each of your marks twisting it as you go to make a hole.
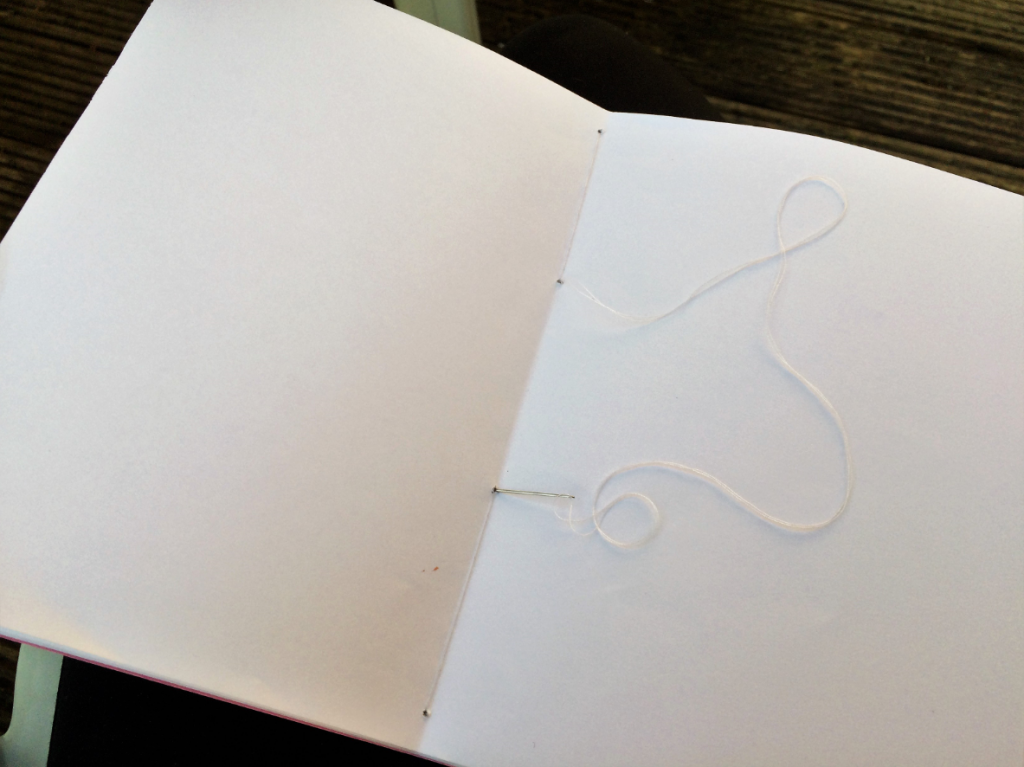
Take a needle and thread and sew through each whole in a running stitch.
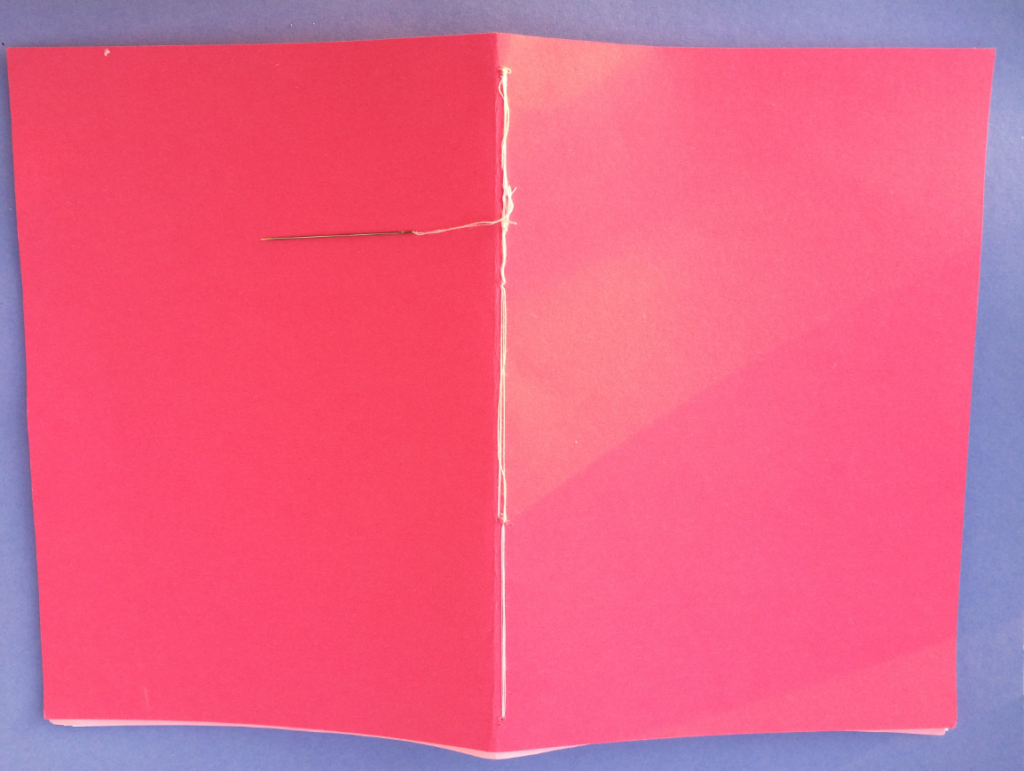
knot at the end before cutting the thread.
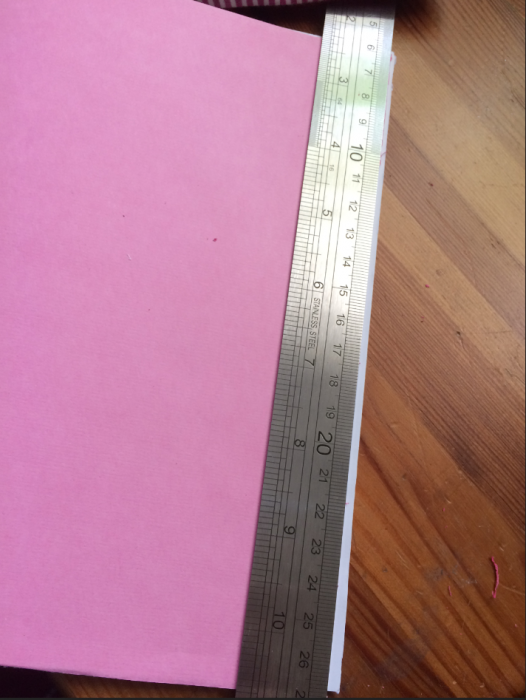
Place your steel rule against the edge of cover making sure its straight.
The pages will stick out a bit from it but that’s fine as we’re about to chop them off.
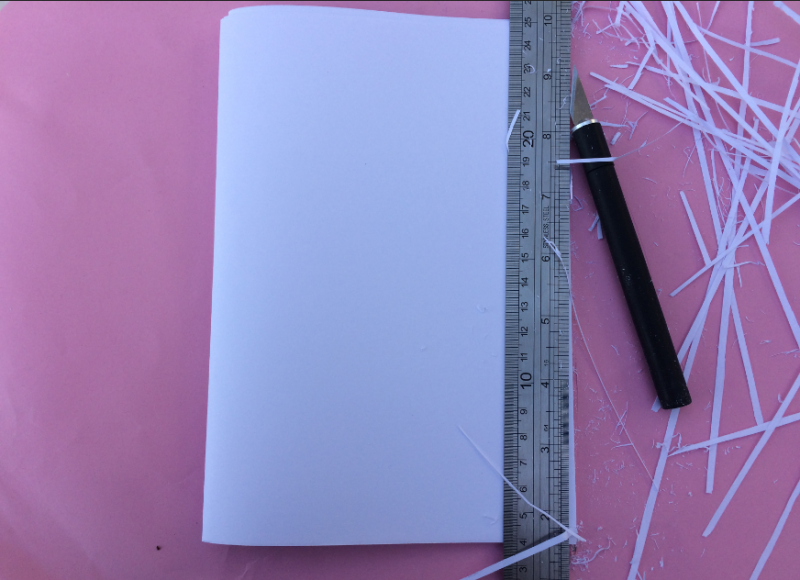
8. repeatedly run your paper knife against the edge of the rule. Removing 1 layer of paper at a time – keep going until the edge is smooth and till that no pieces still stick out
If you run your figure across the edge it should all be level and feel smooth.
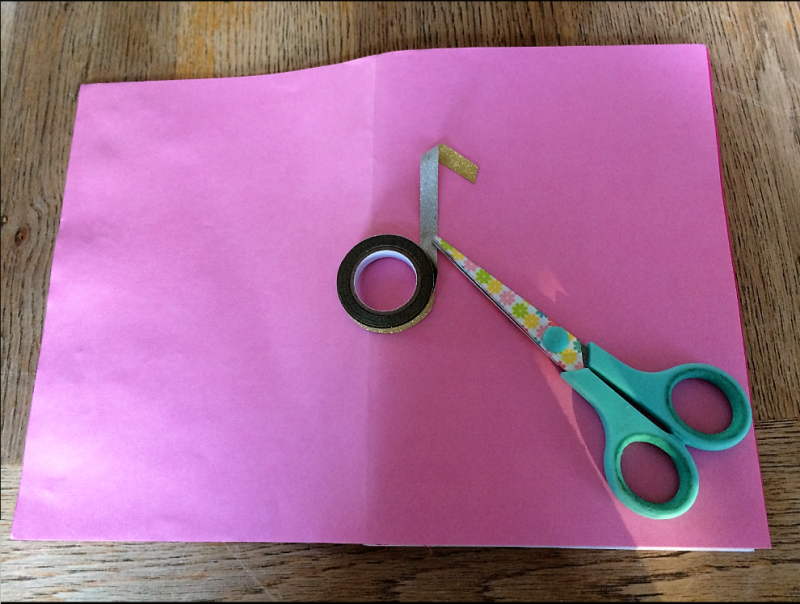
That’s pretty much it. You can either now cover the stitching on the front with a piece of washi tape, leave it or glue another piece of paper on the front.
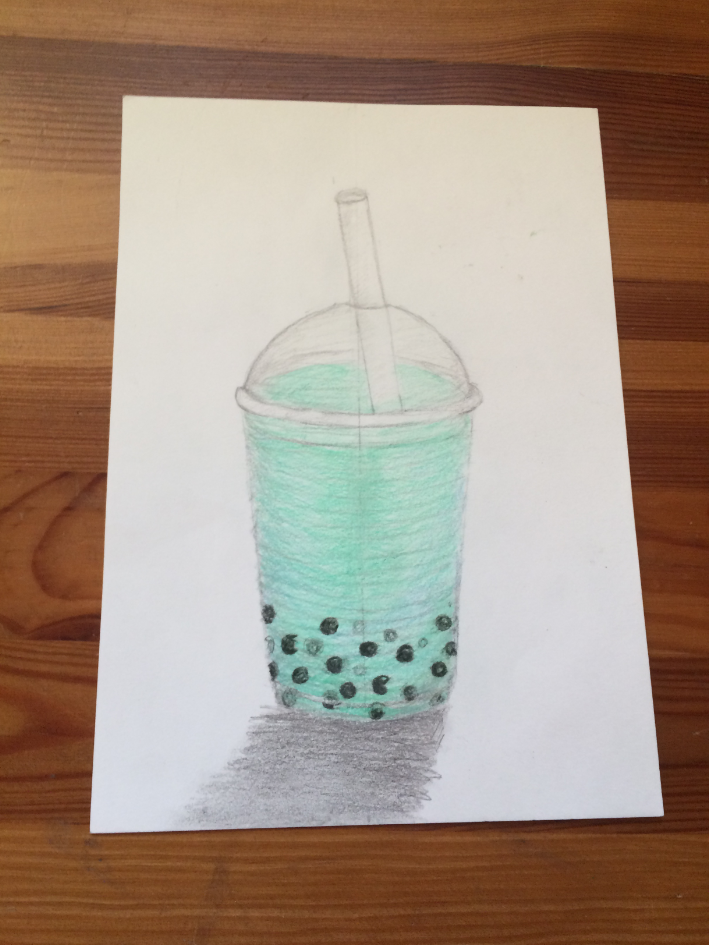
You can leave it as is or go onto decorating it with a cute milkshake drawing and catchphrase.
TO DECORATE

Draw around a circular object on a piece of
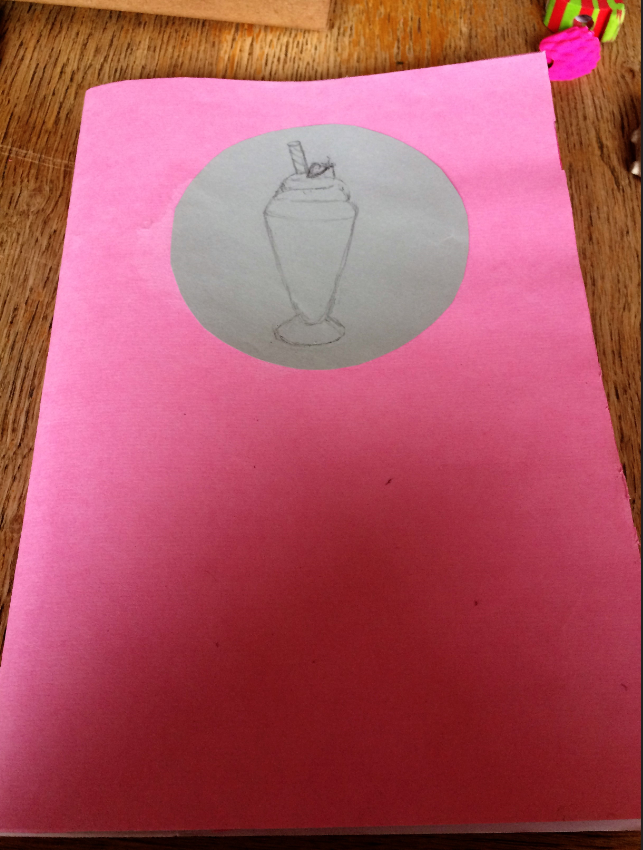
- take a regular drawing pencil and sketch out your
milkshake design or print one of mineand glue it straight on.
If colouring in my design I recommend using B&Ms metallic markers or oil coloured pencils.
To make a strawberry milk shake
- colour in the milkshake liquid pink as well as the stripes on the straw
- add silver for icing & the base as well as the outlining any detail on the straw and glass (see image)
- go back over the icing with pink pen in a squiggle shape up the tears of the icing
- colour in the mini strawberry dark pink and green
- Before finally fine penning any detailing in black
If you want now at this stage you can outline the circle featuring the milkshake in purple metallic ink
And last but not least add a catchy phrase or quote
Shake it up a little
That’s pretty much it – its straight forward enough and easy to make anyone could do it especially teens.
It’s so girly and pink why not add some glitter? I’m sure all note taking teens
Tell me how it turns out in the comments below.
Till then keep on crafting,
Catsith Craftsxx